DIY Tutorial: Making a Simple Shower Curtain Rod, Cost saving and Practical
DIY Tutorial: Making a Simple Shower Curtain Rod, Cost saving and Practical
In today's pursuit of a balance between quality of life and budget, DIY has become an increasingly popular choice for families. As an indispensable functional area in the home, the bathroom's decoration and layout are also worthy of our careful consideration. Today, let's work together to create a practical and beautiful shower curtain rod using simple materials and tools, making the bathroom space more tidy and orderly while saving significant expenses.
stores reserve
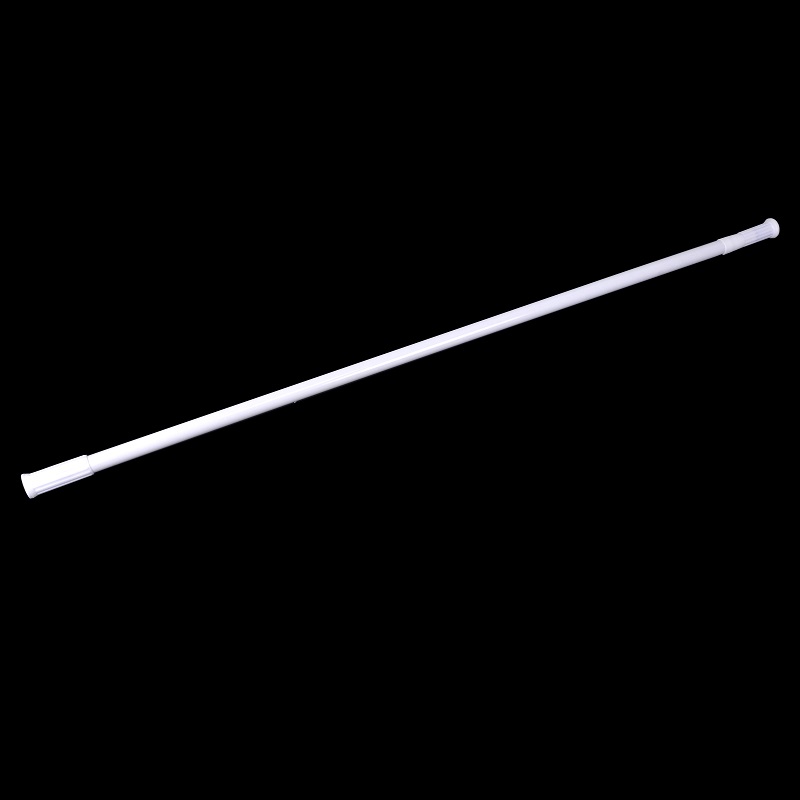
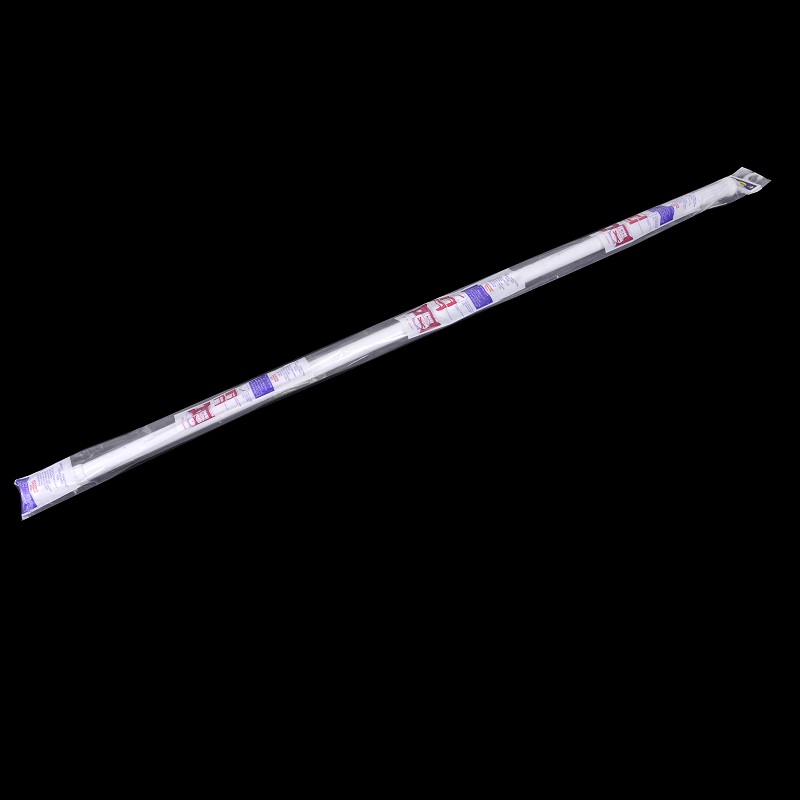
PVC pipe: Choose the appropriate length and diameter according to the width of the bathroom. It is generally recommended to use PVC pipes with a diameter of about 25mm, which are both lightweight and sturdy.
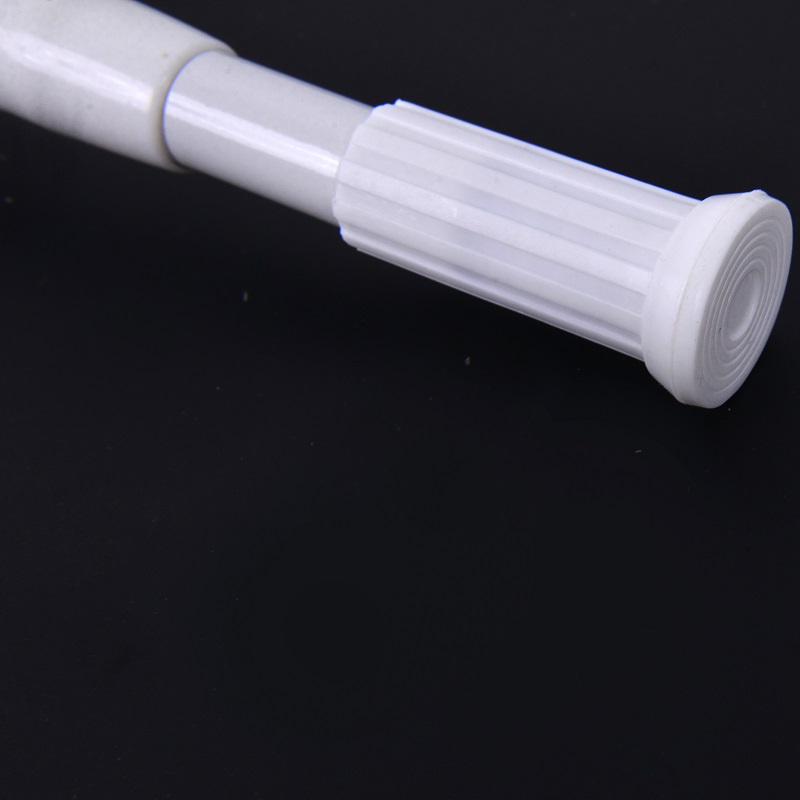
PVC joint: used to connect PVC pipes to ensure stability and no water leakage, the quantity is determined according to the required pole length.
Metal wall pendant (or expansion screw+hook): used to fix the shower curtain rod to the wall to ensure load-bearing capacity.
Level ruler: helps maintain the level of the shower curtain rod during installation, ensuring aesthetics and usability.
Basic tools such as drills and screwdrivers.
Production steps
1. Measurement and Planning
Firstly, use a tape measure to measure the width of the bathroom and determine the length of the shower curtain rod. At the same time, it is recommended to plan the installation position of the shower curtain rod, which is generally recommended to be installed on the outside of the shower area, slightly higher than the shower head, to ensure that water does not splash out.

2. Cut PVC pipe
Use a PVC cutter or saw to cut the PVC pipe according to the measured length. Pay attention to keeping the cut flat during cutting for subsequent installation.
3. Install PVC joints
Insert the PVC joint into both ends of the PVC pipe to ensure a tight and seamless connection. If multiple PVC pipes need to be spliced, the joints must also be installed at the corresponding positions.
4. Mark the installation location
Mark the installation positions of the shower curtain rod at both ends on the wall, and use a level to ensure that the two points are on the same horizontal line.
5. Drilling and installing wall hangers
Use an electric drill to drill holes at the marked locations, and then install metal wall hangers (or use expansion screws and hooks directly). Pay attention to checking the wall material, selecting the appropriate drill bit, and ensuring that the pendant is securely installed.
6. Hanging shower curtain rod
Hang the two ends of the prepared shower curtain rod on the wall hanging bracket, gently adjust the position to ensure that the shower curtain rod is horizontal and stable.
Tips
-When choosing PVC pipes, you can consider purchasing styles with anti slip design to increase the friction between the shower curtain and the rod, preventing the shower curtain from slipping.
-If the bathroom wall is not suitable for using expansion screws, alternative products such as nail free adhesive or strong double-sided adhesive can be considered, but attention should be paid to their load-bearing capacity.
-For aesthetic and practical purposes, you can also choose to wrap a layer of fabric or waterproof paper that matches the bathroom style around the PVC pipe to increase the overall texture.
epilogue
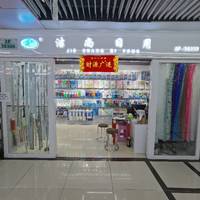
Through the above DIY tutorial, I believe you have mastered the method of making a simple shower curtain rod by yourself. Not only can it save the cost of purchasing finished shower curtain rods, but it can also be customized according to one's own preferences and needs. If you have any questions about material selection or production process, you may refer to advice from professional manufacturers, such as Zhejiang Yiwu Jieshang Daily Necessities Factory (address: 2nd floor, Gate 87, Zone 4, Yiwu International Trade City), who have rich experience in home goods production and may be able to provide you with more inspiration and help.
Make it yourself, enjoy the fun of DIY, and fill every corner of your home with your heart!