
DIY shower curtain making tutorial: Create a unique one with your own hands
DIY shower curtain making tutorial: Create a unique one with your own hands
Do you want to add a touch of personality to your bathroom at home? Why not try making a unique DIY shower curtain yourself! This not only enhances your hands-on ability, but also fills the bathroom space with personal style. Today, let's explore the process of making DIY shower curtains together, making your bathroom stand out from the crowd.
1、 Material preparation
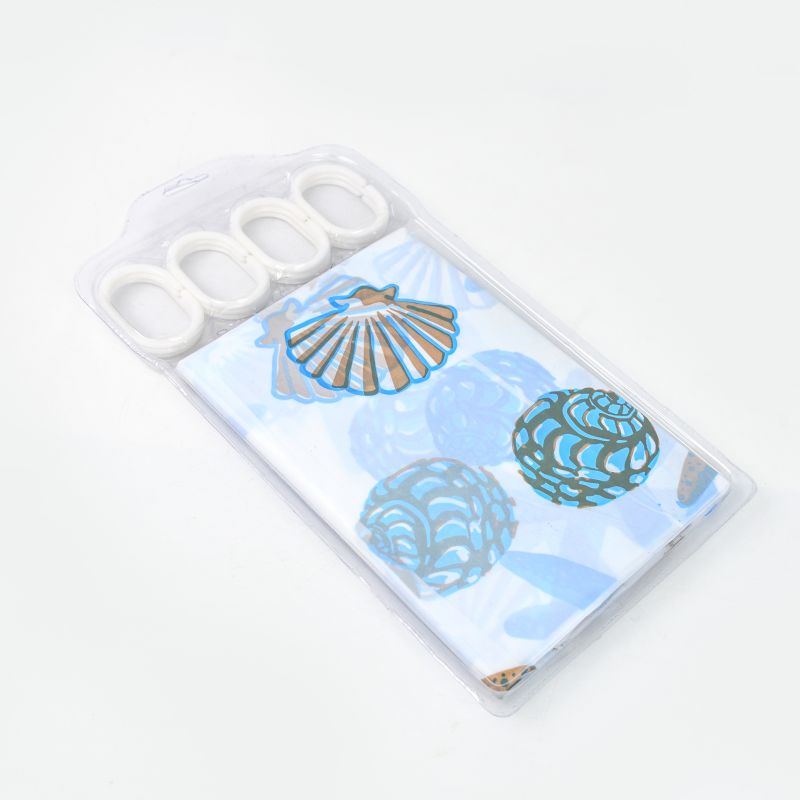
Fabric selection: Choosing waterproof and easy to clean fabrics is key. You can go to Jieshang Daily Necessities Factory in Yiwu, Zhejiang (address: 2nd floor, Gate 87, Zone 4, Yiwu International Trade City) to choose from, where there is a rich selection of fabrics, from simple solid colors to complex patterns, everything is available.
Sewing tools: scissors, sewing machine or hand needle and thread, ruler, chalk or fountain pen, sewing thread, etc.
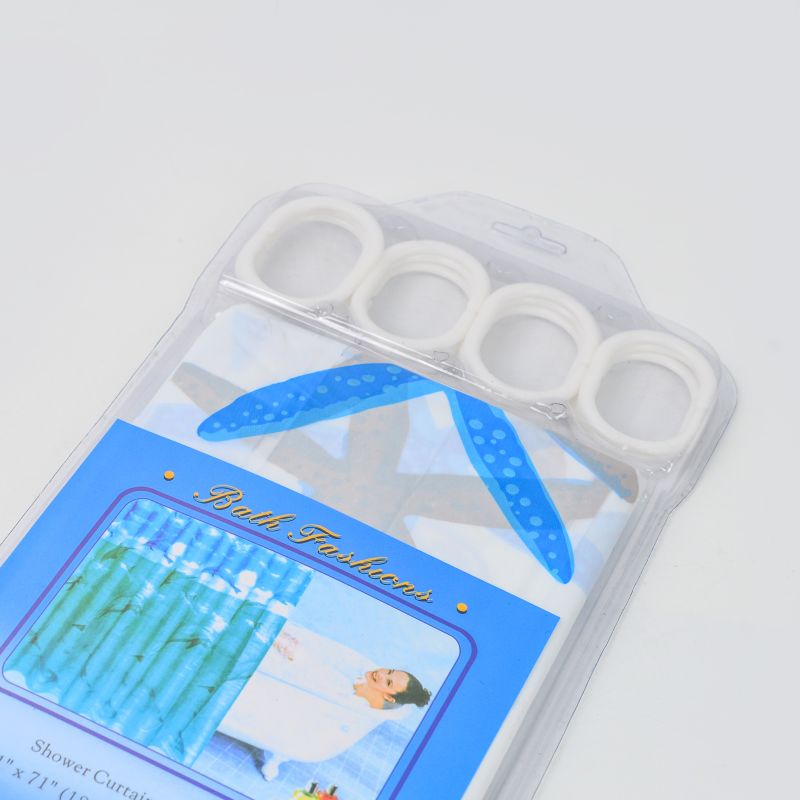
Auxiliary materials: hanging rings (or punchers and ropes), fabric clips, ironing tools (if needed).
2、 Design Concept
Before making, brainstorm your shower curtain design. It can be simple line patterns, complex printed patterns, or even personal photos or hand drawn works. Ensure that the design conforms to the overall style of the bathroom, while considering practicality such as waterproofing, ease of cleaning, etc.

3、 Cutting fabric
1. Measure and determine the size of the shower curtain based on the actual situation of the bathroom (such as the size of the shower area). Generally, the width should be 30-50 centimeters wider than the shower area, and the length should be determined according to personal preferences and the height of the shower area.
2. Use a ruler, chalk or fountain pen to mark the cutting line on the fabric, paying attention to keeping the edges flat.
3. Use scissors to cut the fabric along the marked line, paying attention to maintaining hand stability and avoiding cutting deviation.
4、 Sewing shower curtains
1. Fold the cut fabric in half to align both sides and prepare to sew the side edges.
2. Use a sewing machine or hand sewn thread to sew the sides along the edge of the fabric, leaving the top opening as the installation position for the hanging ring.
3. (Optional) According to personal design, decorative treatments such as lotus leaf edges and wavy edges can be applied to the bottom of the shower curtain to increase its aesthetic appeal.
5、 Install the hanging ring
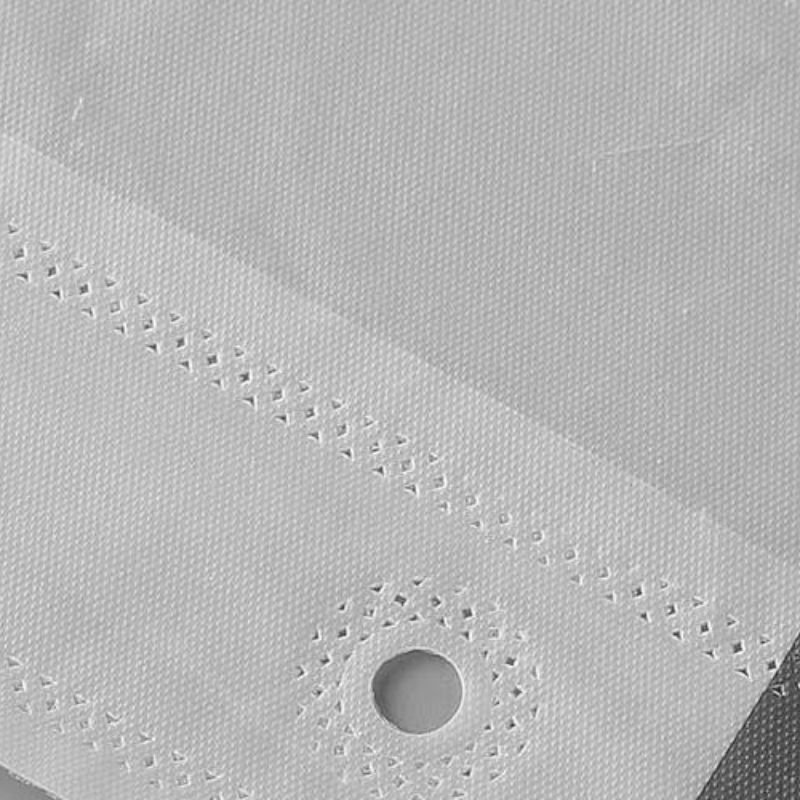
1. Drill holes evenly on the top of the shower curtain or fix it directly with hanging rings. If using a punch, punch holes on the fabric according to the designed spacing.
2. Thread the hanging ring through the hole and secure it with fabric clips or strong glue to ensure that the hanging ring is firm and not easily detached.
6、 Closing and Presentation
1. Check whether the various parts of the shower curtain are sewn firmly, without missing needles, broken wires, etc.
2. Hang the pre made shower curtain in the shower area, adjust it to the appropriate position, and enjoy the personalized bathroom space you have personally created.
epilogue
Through the above DIY shower curtain making tutorial, I believe you have mastered the skills of making a unique shower curtain. In this process, not only can you experience the joy of handmade crafts, but you can also add warmth and personality to your bathroom at home. Why not give it a try now and make your bathroom wonderful because of you!